Easy to use and quick to learn, it will make data capture a breeze! No signup or setup required – just download the Qwikinventory app and begin straight away.
Save time and reduce mistakes when producing lists of assets, items or anything else with Qwikinventory. Simply scan the barcode or type in text to build your data. For repeated tasks, modify the name fields to your needs. When complete, email as a CSV file to either create a new database or add to an existing one.
Qwikinventory recognises 13 types of barcode and matrix barcode (QRCodes), allowing you to instantly log the information you need without fuss. Use the torch button to activate the phones LED flashlight in low light conditions. Each entry will have the time, date and location added automatically, so you know exactly when and where it was created.
Visit www.rascalbiscuit.com to see a selection of videos on how to use the app.
How to use:
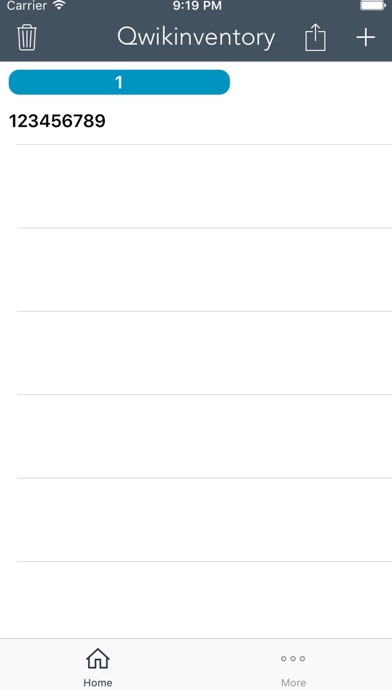
Once into Qwikinventory, tap the “+” button (top right), which will take you to the “Add Entry” screen. Give the entry an ID and, if required, include any text in the appropriate field(s).
To scan barcodes, press “Scan” to access the scanning screen; position the centre line over the barcode/QRCode, which will “buzz” when code recognition is successful. If you decide that you need to discard the data or exit this screen, choose the red “X” button. By selecting the green “TICK” button, the barcode will transfer itself to the correct data field on the “Add Entry” screen. You can then either “Save” the entry or “Cancel” to start again.
There is the option to correct or edit the data once saved; simply tap on the relevant entry and then “Edit”. This includes changing the “Row” names if needed, which will then become the default (helpful for repeated tasks). To make the date, time and location current, the “Update” button will do that for you.
You can email your results as a CSV file, by choosing the “email” icon at the top of the screen (next to the “+”). This will create a standard email template with data attachment for you to add the address and any text required before sending.
If you need to remove a single entry, swipe to the left and tap “Delete”. You can delete the entire database by selecting the “trash bin” icon (top left on the front screen); an alert will ask you to confirm your request before it erases it completely.


